Availability
An updated version of this integration is available. This version of the connector is no longer available for installation. If you’re integrating AWS for the first time, use the updated version.Capabilities
- Sync user identities from AWS IAM Users to ConductorOne
- Federated users authorization mapping
-
Provisioning supported:
- Groups
- Permission sets for Identity Center users
Known limitations
- Cross-account Assume Role is not currently supported
Set up the AWS integration
1
In ConductorOne, navigate to Admin > Connectors > Add connector.
2
If this is your first AWS integration, the integration form opens automatically. Otherwise, click Add connector.
3
Choose whether to add the new AWS connector as a data source as a data source to an existing application (and select the app of your choice) or to create a new application.
4
Set the owner for this connector. You can manage the connector yourself, or choose someone else from the list of ConductorOne users. Setting multiple owners is allowed.
5
Click Next.
Next steps
- If you are the integration owner, proceed to Integrate your AWS instance for instructions on integrating AWS with ConductorOne.
- If someone else is the integration owner, ConductorOne will notify them by email that their help is needed to complete the setup process.
Integrate your AWS instance
Step 1: Get ConductorOne-provided External ID for AWS IAM Role
1
Navigate to the ConductorOne Integrations page and click AWS.
2
In the list of connectors, locate and click on the name of the connector with the Not connected label.
3
Find the Settings area of the page and click Edit.
4
Copy and save the External ID populated in the External ID field. We’ll use this in Step 2.
Step 2: Create an AWS IAM Role for ConductorOne to use
1
In a new browser tab, sign in to your AWS Account using your existing credentials or SSO.
2
Navigate to the IAM Dashboard and select Roles > Create Role.
3
Select Custom Trust Policy and paste the following into the Trust Policy JSON editor, replacing
EXTERNAL_ID_FROM_C1_INTEGRATIONS_PAGE with the value from Step 1.4
Click Next.
5
Skip Add permissions and click Next.
6
Give the role a name, such as ConductorOneIntegration.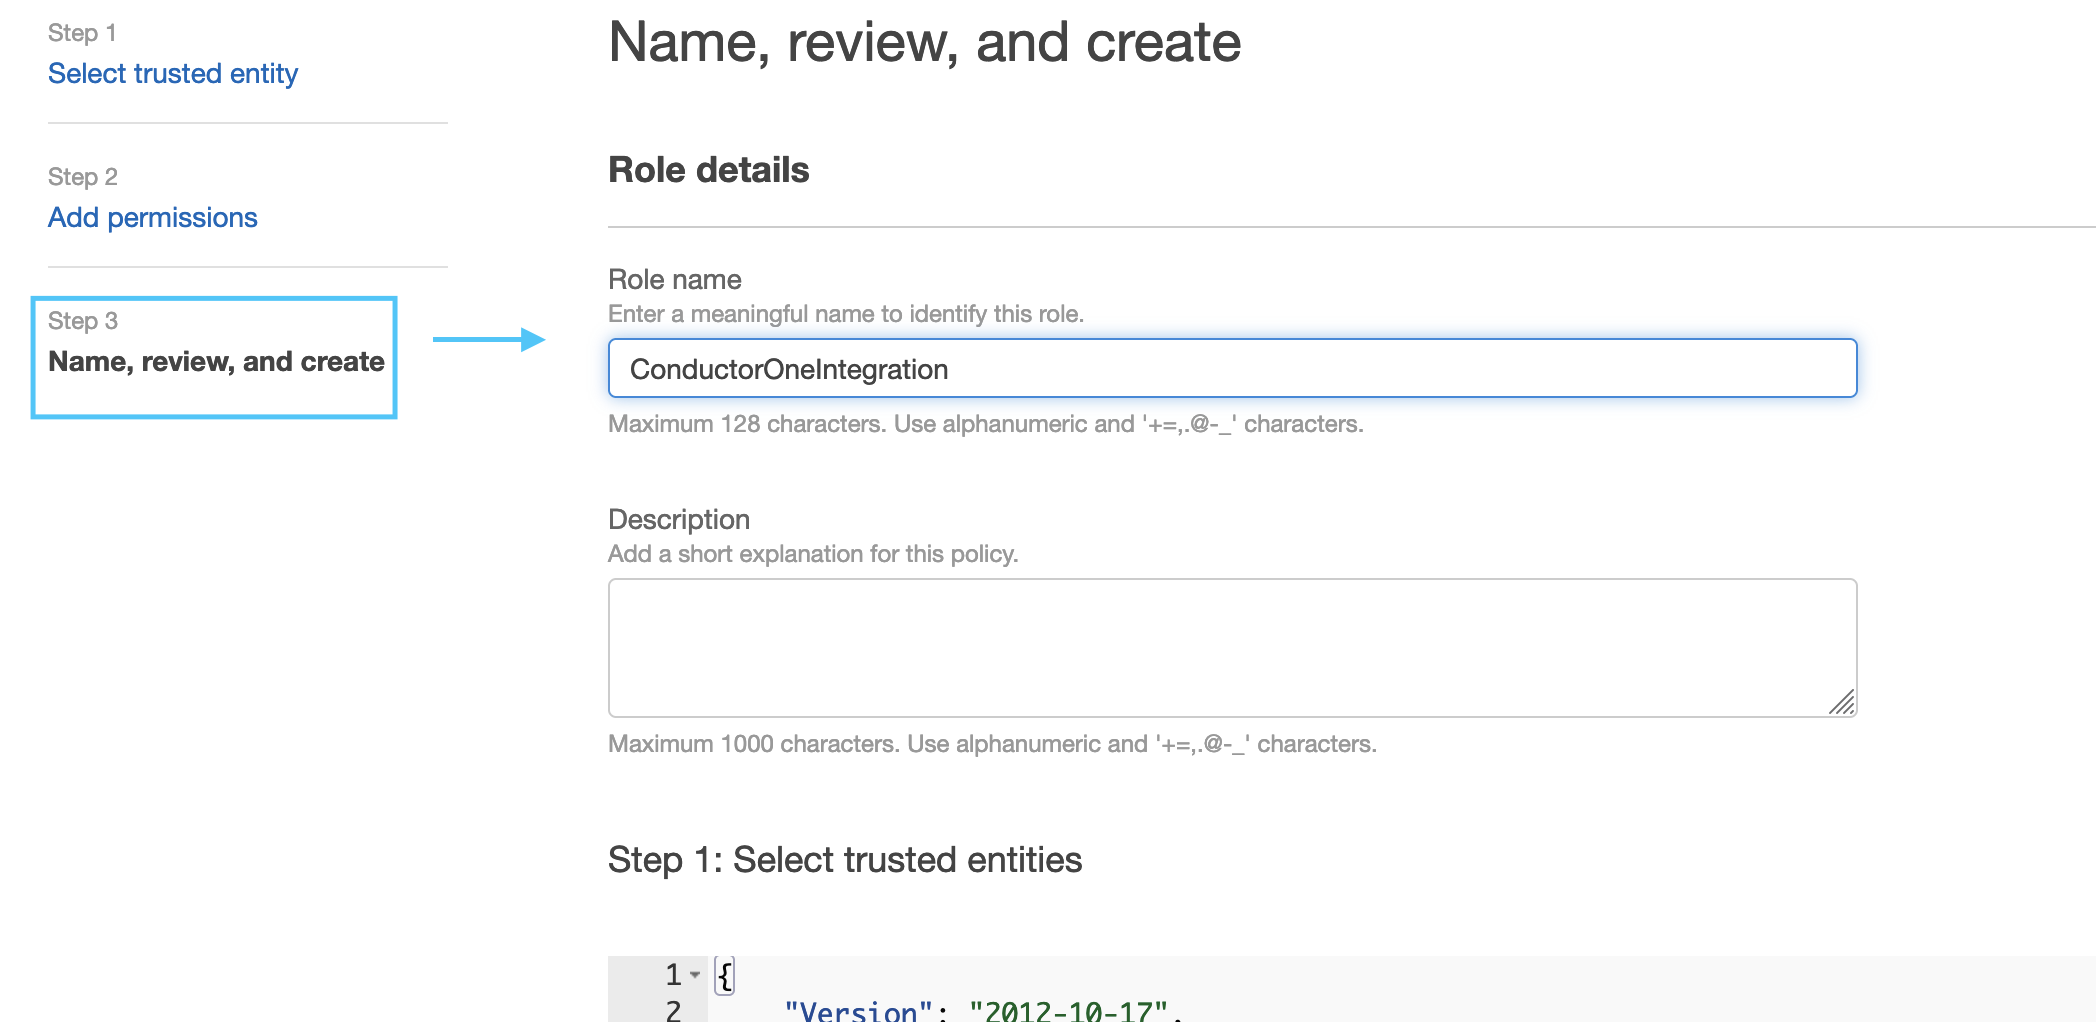
7
Add any Tags relevant to your Organization and click Create Role.
8
Find the newly created role, and click on it to view the role details page.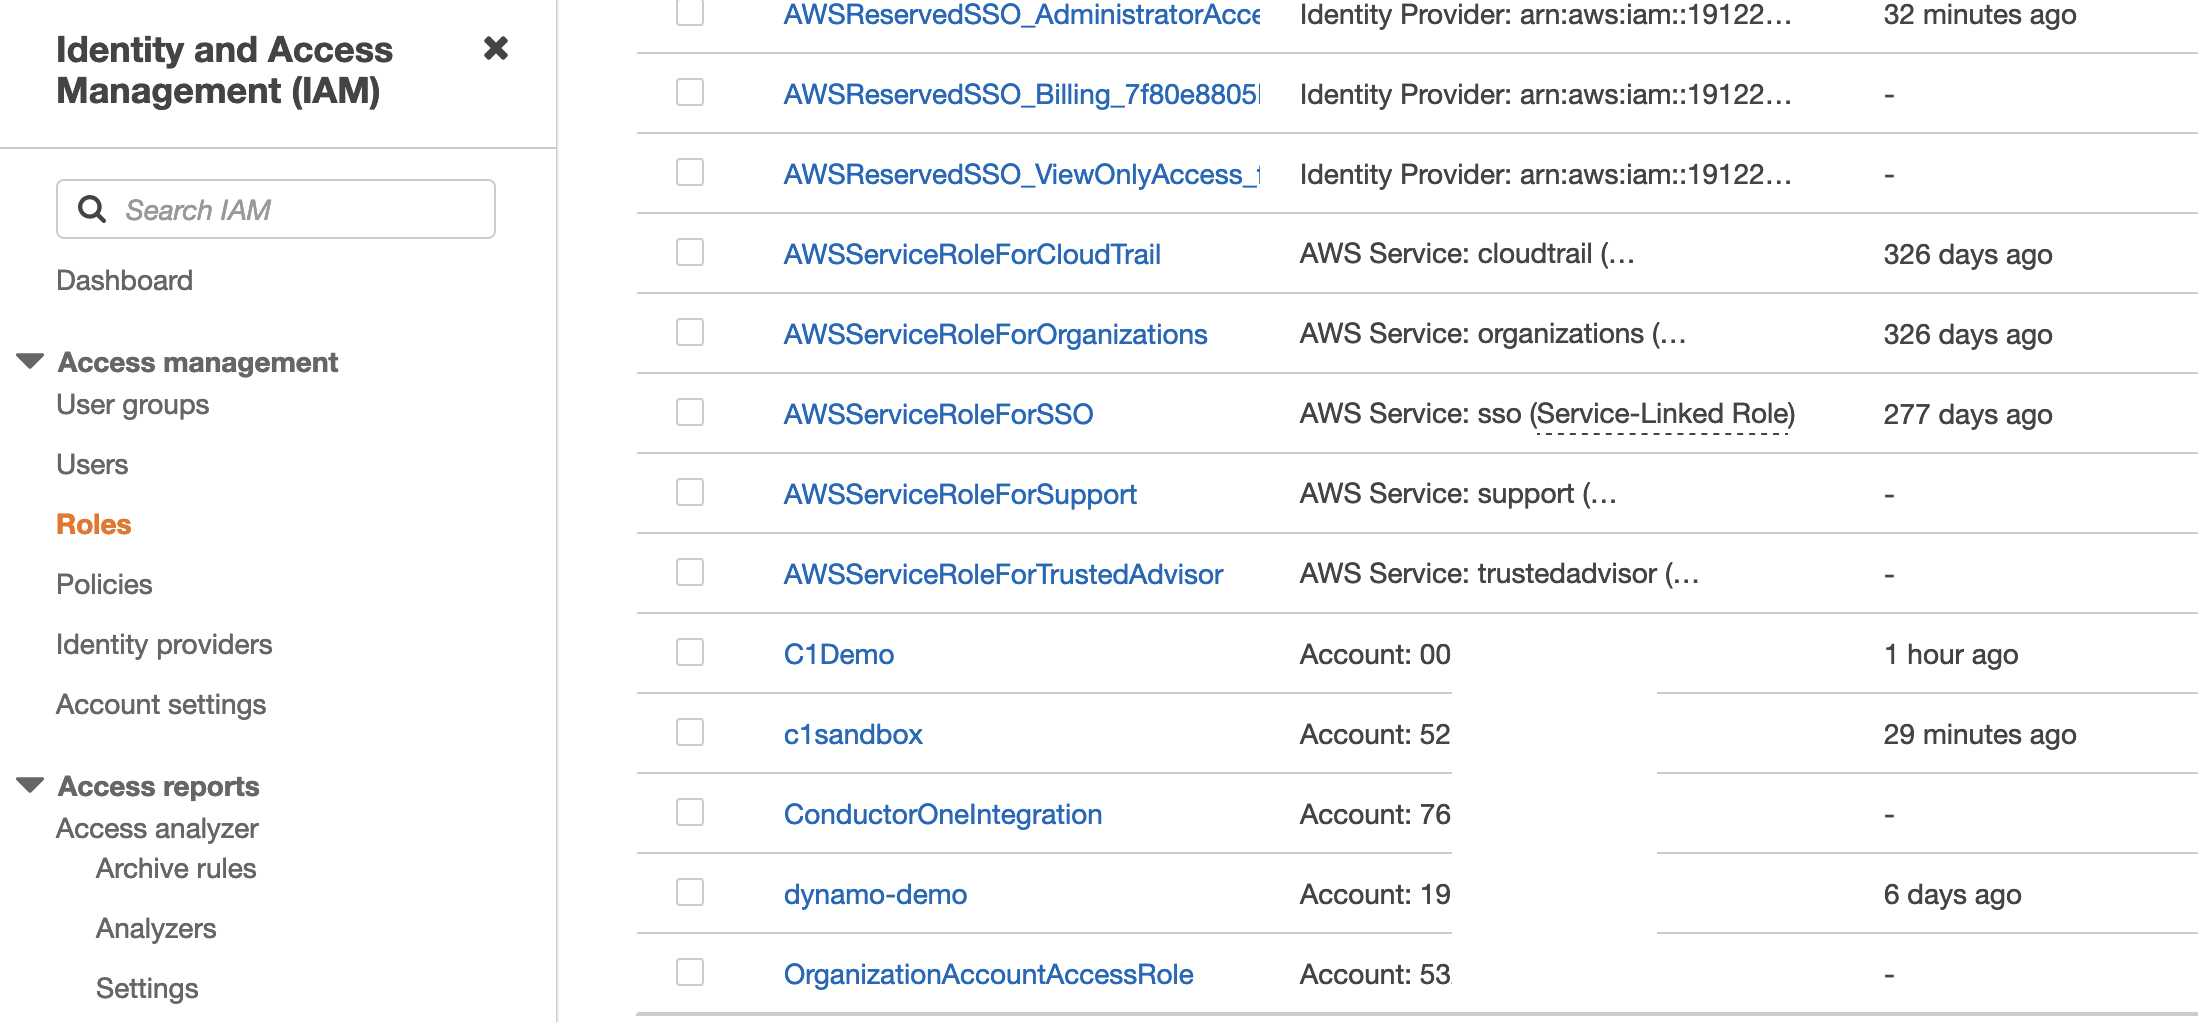
9
Under Permissions Policies, click Add Permissions and select Create Inline Policy.
10
Switch to the JSON Editor tab and paste the following policy into the editor:
11
Click Review Policy.
12
Give the Policy a name, such as ConductorOnePermissions and click Create Policy.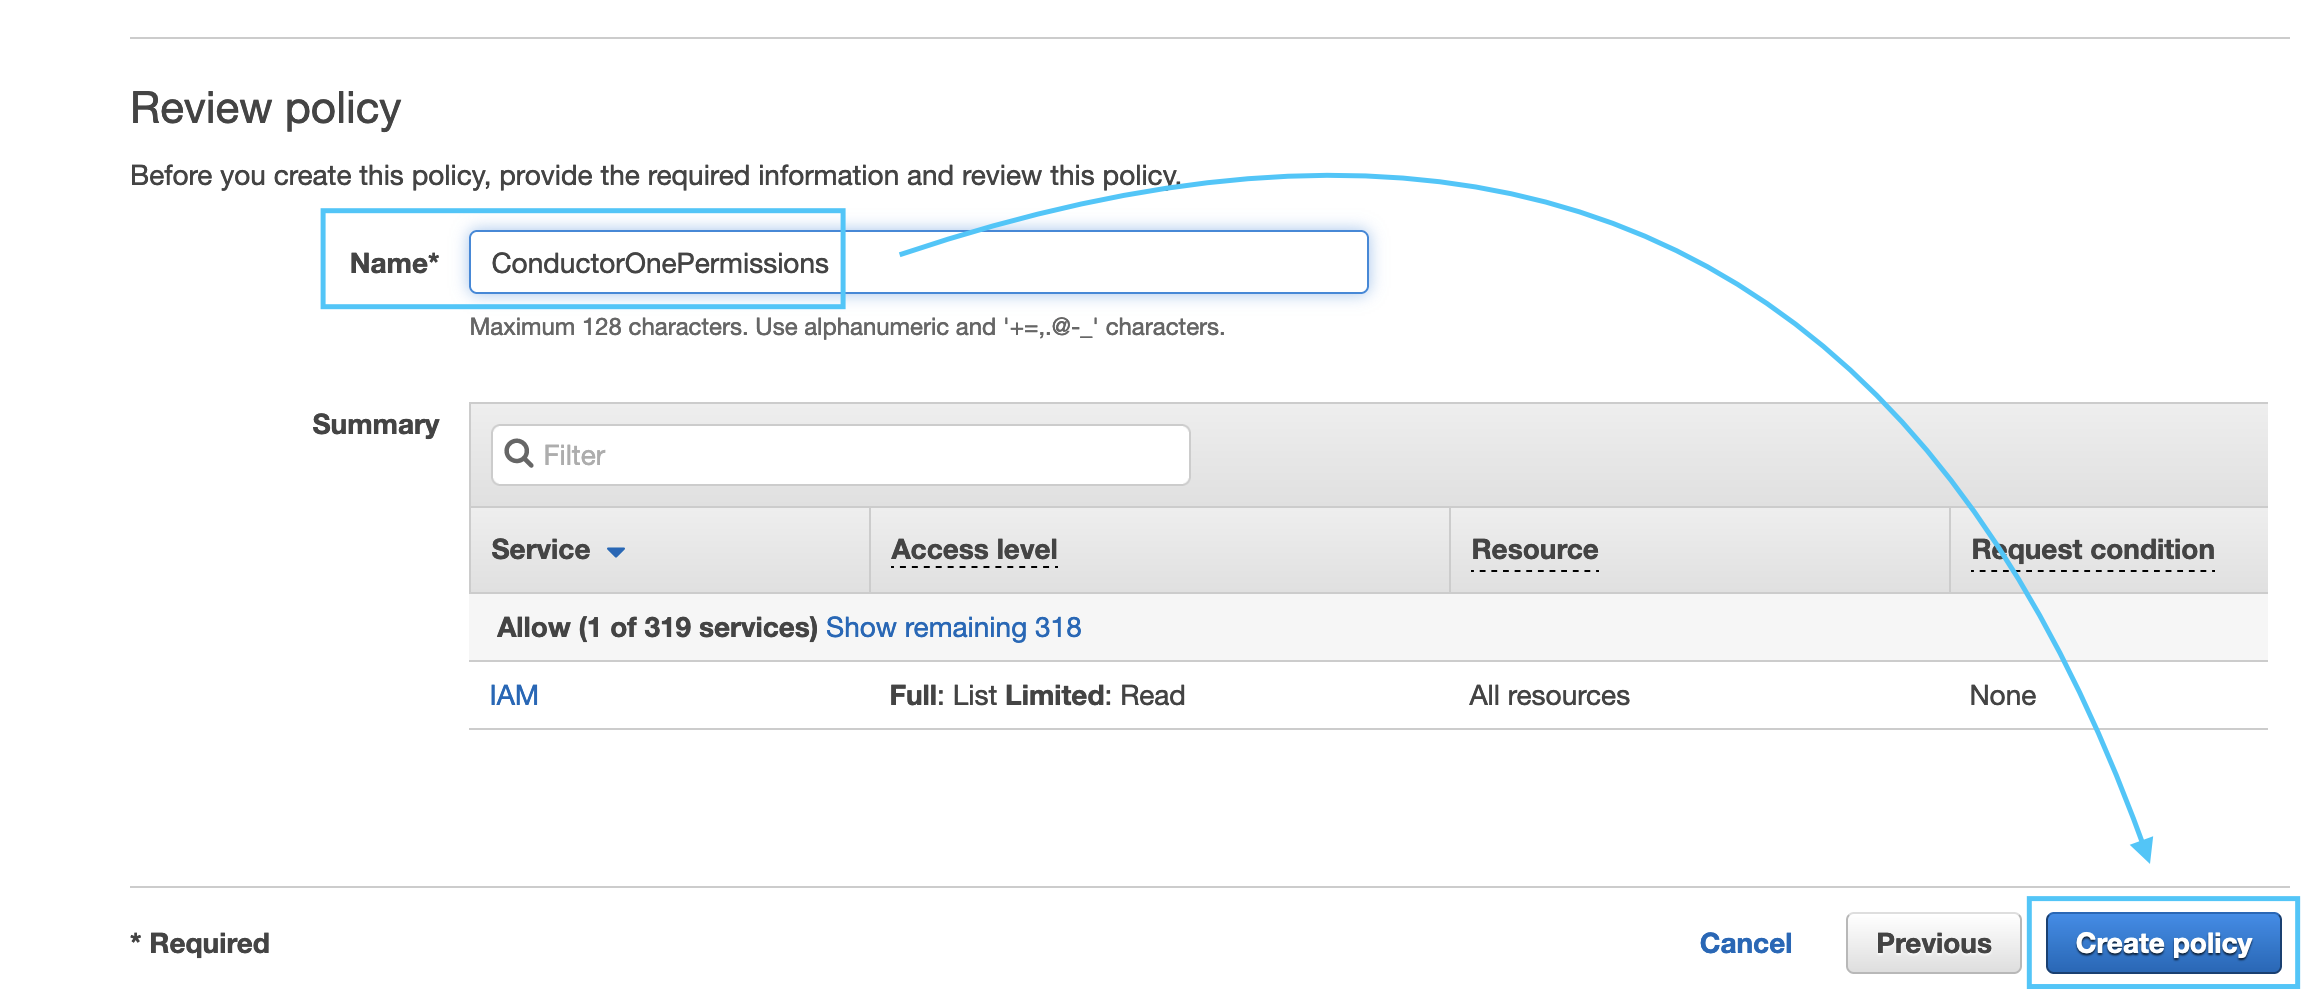
13
Copy the Role ARN for the Role we created, it should look like: 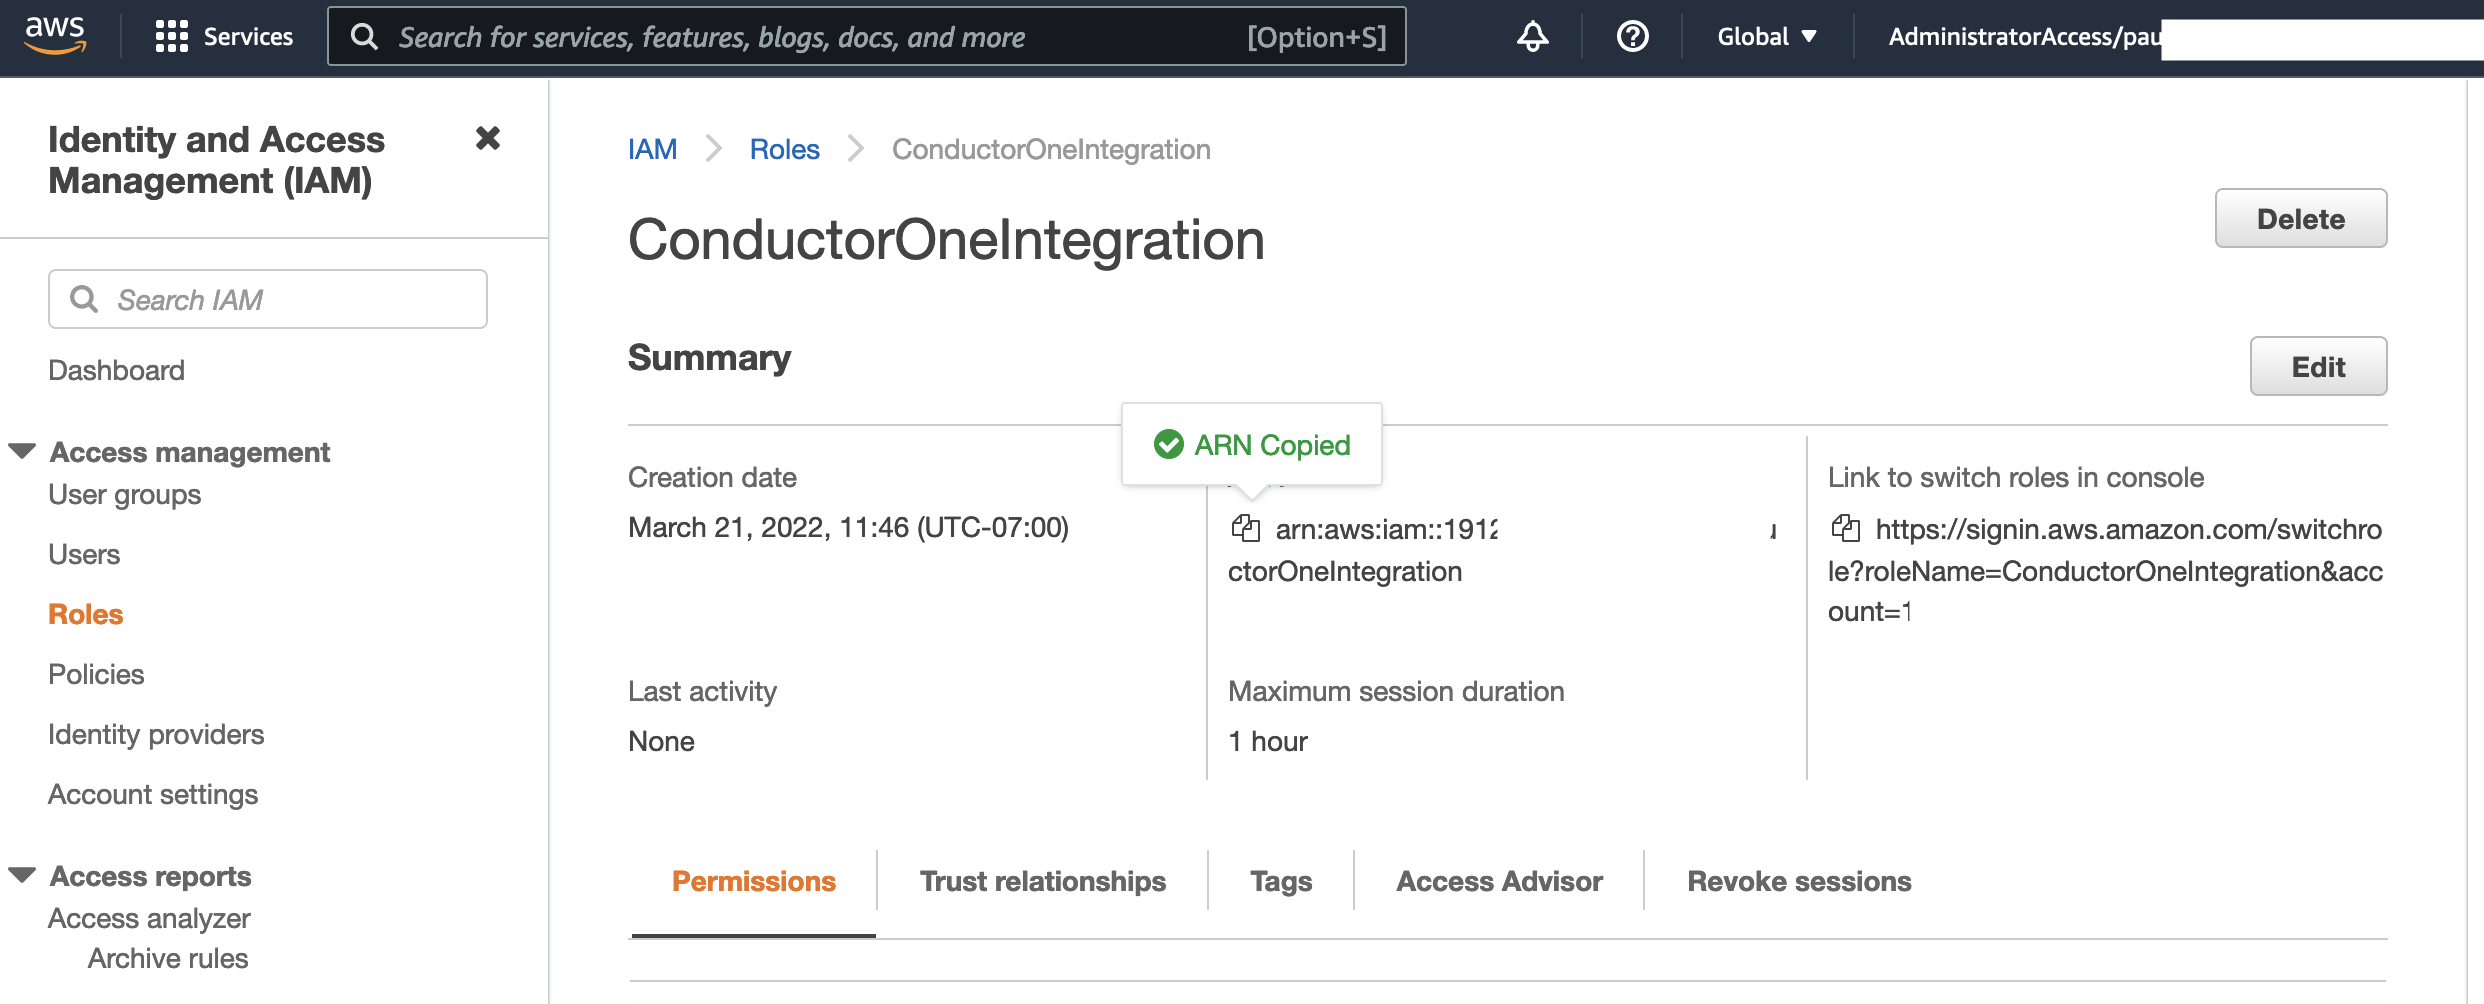
arn:aws:iam::NNNNNNNNNN:role/ConductorOneIntegration (we’ll use this in Step 3).Step 3: Integrate ConductorOne to your AWS instance
1
Return to ConductorOne and paste the AWS Role ARN you generated in Step 2 into the Role ARN field.
2
Optional. Click the checkbox to Enable support for AWS Organizations.If support for AWS Organizations is enabled, the IAM Role (as described in Step 2) must be created in the management (formerly called master) account of the AWS Organization. If the IAM Role is created on a member account and support for AWS Organizations is enabled, the integration will return a 400 error.
3
Optional. Click the checkbox to Enable support for AWS IAM Identity Center and select the region for AWS IAM Identity Center from the dropdown.
4
Optional. Click the checkbox to Enable usage of the AWS IAM Identity Center SCIM API and enter the SCIM endpoint and access token in the relevant fields.
5
Click Save.
6
The connector’s label changes to Syncing, followed by Connected. You can view the logs to ensure that information is syncing.
Integrate using Terraform
As an alternative to the instructions above, use the following Terraform script to integrate your AWS instance with ConductorOne.Step 1: Get ConductorOne-provided External ID for AWS IAM Role
1
Log into ConductorOne.
2
Navigate to Admin > Connectors > AWS Connector.
3
Copy and save the External ID populated in the External ID field (we’ll use this in Step 2.