Capabilities
| Resource | Sync | Provision |
|---|---|---|
| Accounts | ||
| Projects | ||
| Groups |
Gather GitLab credentials
Configuring the connector requires you to pass in credentials generated in GitLab. Gather these credentials before you move on.Look up your GitLab group
1
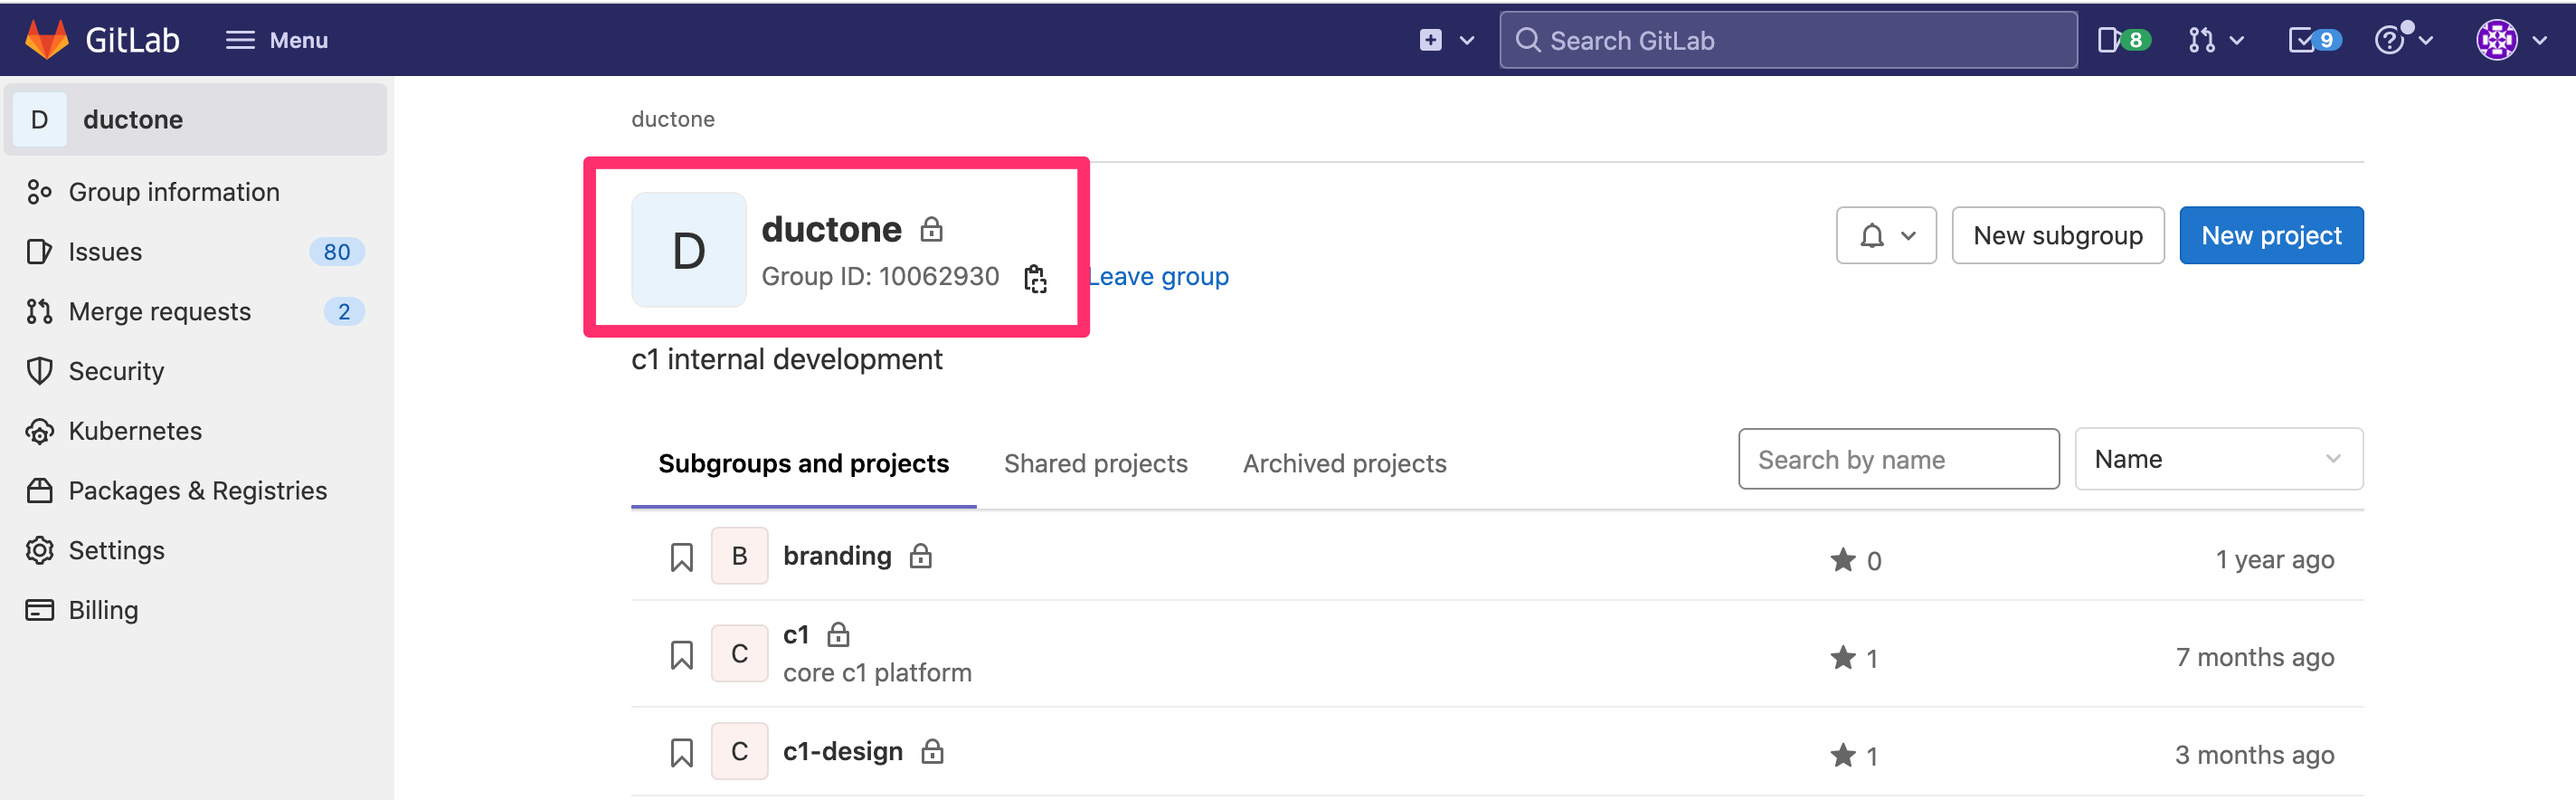
In GitLab, click Menu > Groups > Your Groups.
2
Click on the group you wish to connect to ConductorOne.
3
Make a note of the Group Name or Group ID.
4
Create a personal access token
1
In the GitLab menu bar, click your profile photo then click Edit profile.
2
In the User Settings menu, click Access Tokens.
3
Give your token a name and set an expiration date.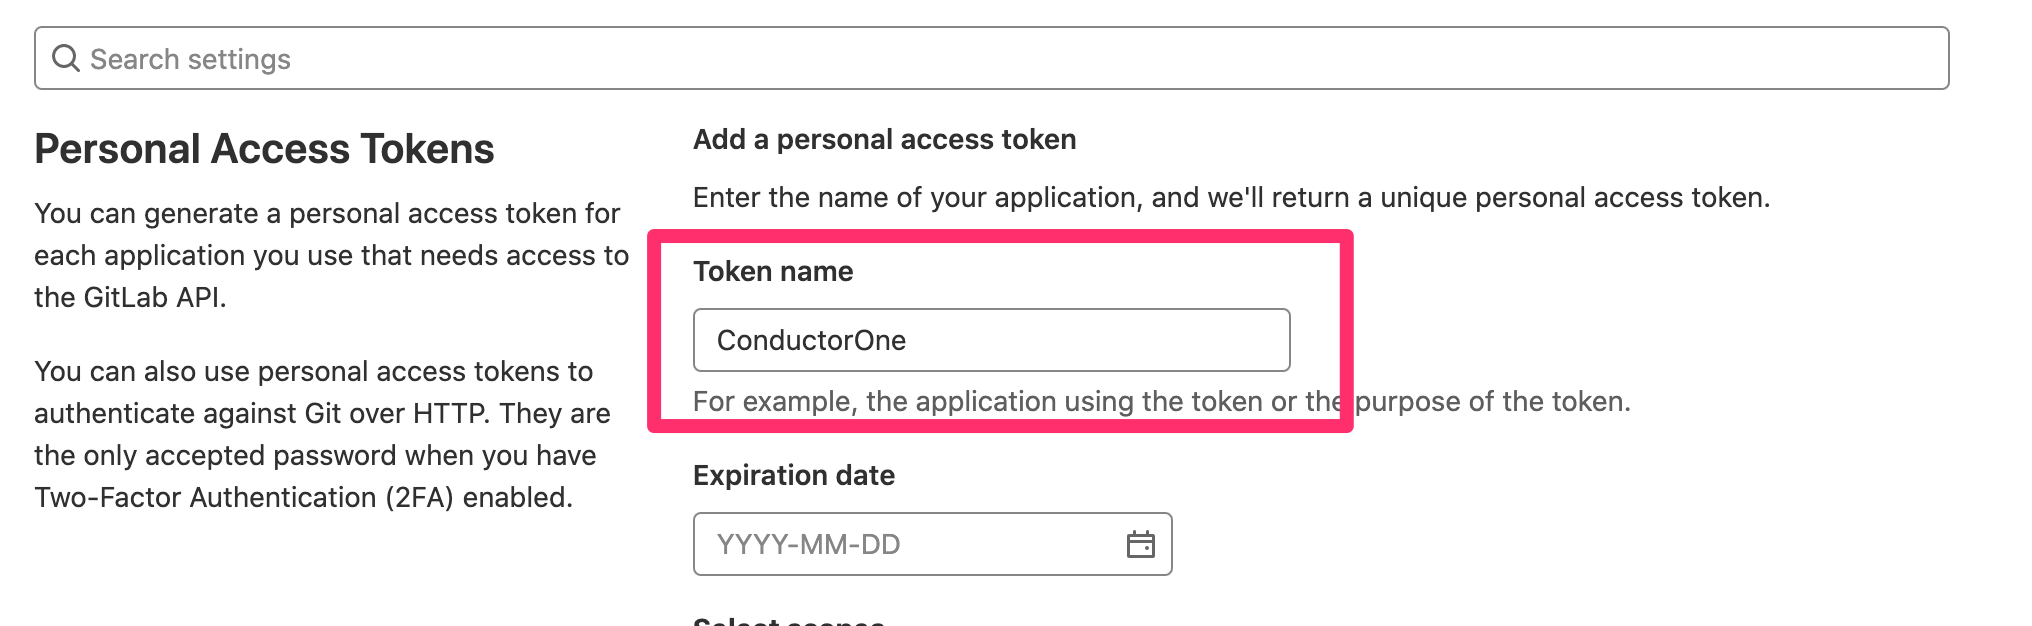
4
In the Select scopes area, select read_api.
5
Click Create personal access token.
6
Carefully copy and save the newly created token.
Configure the GitLab connector
- Cloud-hosted
- Self-hosted
Follow these instructions to use a built-in, no-code connector hosted by ConductorOne.That’s it! Your GitLab connector is now pulling access data into ConductorOne.
1
In ConductorOne, navigate to Admin > Connectors and click Add connector.
2
Search for GitLab and click Add.
3
Choose how to set up the new GitLab connector:
- Add the connector to a currently unmanaged app (select from the list of apps that were discovered in your identity, SSO, or federation provider that aren’t yet managed with ConductorOne)
- Add the connector to a managed app (select from the list of existing managed apps)
- Create a new managed app
4
Set the owner for this connector. You can manage the connector yourself, or choose someone else from the list of ConductorOne users. Setting multiple owners is allowed.If you choose someone else, ConductorOne will notify the new connector owner by email that their help is needed to complete the setup process.
5
Click Next.
6
Find the Settings area of the page and click Edit.
7
In the Group field, enter the name of your GitLab group.
8
Paste the token you into the Personal access token field.
9
Optional. If you need to point this connector to a private URL (such as a self-managed GitLab instance), enter the target URL in the URL field.
10
Click Save.
11
The connector’s label changes to Syncing, followed by Connected. You can view the logs to ensure that information is syncing.